The storage density of the screen mesh bags and the holding cages is rather less, leaving more room. Usually, about 200 mesh screen mesh bags are placed, and cages are held for 120 to 150 grains/layer.
When the seedlings are planted, take a awning and catch them in the morning and evening. Avoid the high temperature at noon to prevent the sun from blowing.
The high temperature seedlings can be handled by the crew at sea using the bagging method. That is, the original 30-head bag is turned over and put into the screen mesh bag. If the original 30-head bag is loaded with too many seedlings, it should be brushed off after turning over the bag. Sparse. If death has already occurred in a 30-mesh bag, the seedling bag will be turned over and squeaked in the water so that dead shellfish will fall into the water and healthy individuals will still be attached to the mesh bag.
Temporarily raise the water layer from 1.5m to 2.0m. Check immediately after the wind to prevent falling rocks from falling and the seedlings twining. When the seedling bag is full of mud, it can be gently washed in the water. Do not hold in the sea where there are many living creatures.
Second, to develop a cage and seedlings time: According to the specifications of the seedlings, the holding cage density of the cage, the cleanliness of the cage and the length of the seedling cycle. Holding cages hold 180 grains per layer, and wait until the shell height is 2.8 cm to complete the cultivation of the cages. 120 seedlings were placed on each layer, and the seedlings could be divided before the shell height of 3.4 cm. For convenience, the seedling time can also be determined gravimetrically, ie, seedlings are completed before each layer of shellfish weights 800 g.
Seedling density: 30 cm diameter breeding cages were placed 35 to 38 grains per layer. The diameter of the cage is 34 cm and 50 seeds are placed on each layer. On August 1st, a cage was established and 80 seeds were placed on each layer. After 20 days to 30 days, the seedlings were reared at the above density.
Sub-seedling operation: dry points for sub-seedling and 30 to 45 strands of polyethylene thread for the sewn cage line, to maintain proper tightness.
To prevent high-temperature stimulation, stop the seedlings when the shells are closed frequently with more occlusal phenomena.
Prevent dehydration of dried dehydration, transporting seedlings, unloading cages, sieving, seedlings, sewing cages, hanging seedlings, and other links closely, without backlog. During the transportation, splash water and maintain humidity. Try to distinguish the seedlings in the sea. If the breeding area is too far away, it can be suspended in the near area and then poured out.
Avoid suffocation caused by drowning and stimulation of high temperature seawater. Temporarily raise cages not to accumulate in shallow shallow waters near shore, especially at noon. When transporting the seedlings, the cabin should be washed with a brush, and the cabins should be filled with sub-boards so that the seedlings are not in direct contact with dirty water.
Reduce the mechanical damage, pay attention to gently, use a mesh or plastic round hole mesh for iron sieve.
Do a good job in screening seedlings, and divide the seedlings into 2 to 3 grades, and then raise them into cages and holding cages so that the number of shellfish per layer is basically the same.
The seedlings will be planted before August 10th, and a cage will be established for “catchment nets†and will be taken off after one month.
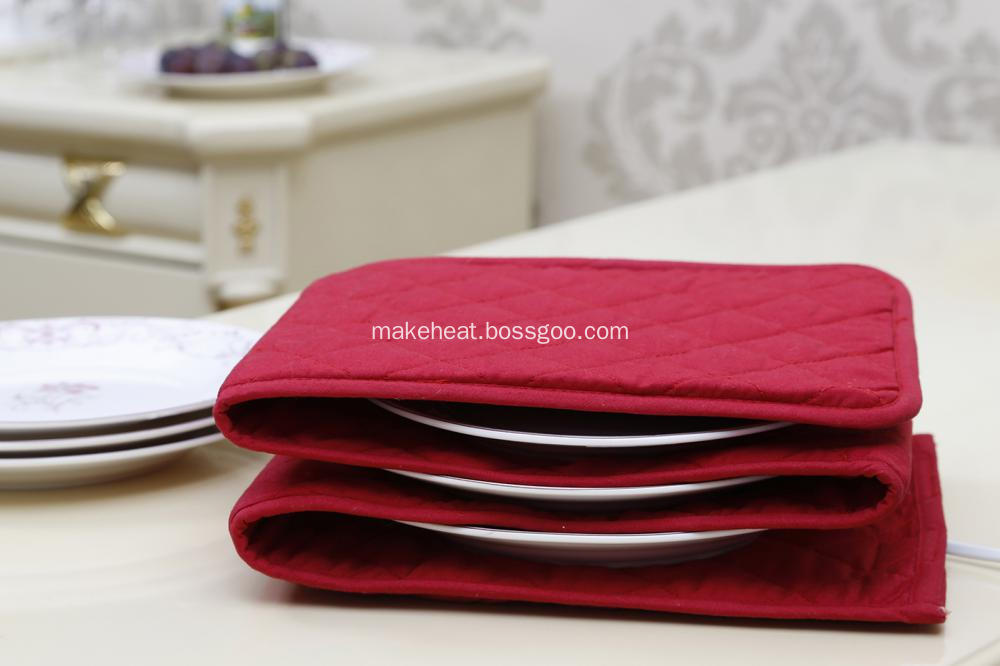
The Platewarmer uses minimum of energy due to the grid design of the heating element and provides a practical way to heat 3-12 plates in less time than it takes to cook a meal, leaving room in your oven for the cooking. To use the Plate Warmer, simply place up to 4 plates in each fold and switch on.
Electric Plate Warmers are thermostatically controlled to keep the plates at the ideal temperature to serve hot food whilst leaving the outer edges safe to handle and are a safe and easy alternative to heating up plates in the oven. The Electric Plate Warmer can be personalised with your own bespoke logo and/or design colour.
Below image as reference:

Electric Plate Warmer
Electric Plate Warmers, Electric Dish Warmer, Plate Warmers for Home, Electric Warming Plate
Ningbo Makeheat Electrical Appliance Co., Ltd , http://www.makeheat.net